
Link your Microsoft or Google account to your LeaveDays account! In this way, a user no longer has to remember / use a separate password to log into the LeaveDays application.
-
Login
-
Activate
-
Manage
Login
Via the login screen, employees can choose to log in via a Single Sign On (SSO) account. It looks like this:
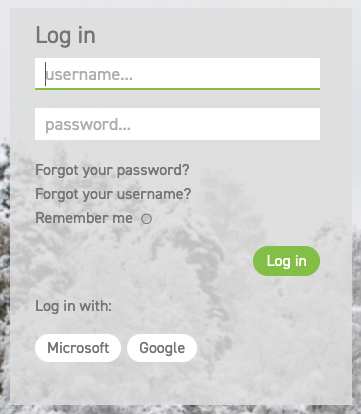
Pay attention! Do not use these two buttons if you have not yet activated Single Sign On on your account. The above options (Microsoft or Google) only work with logging in only if you have already activated Single Sign On on your account. Otherwise, first follow the activate steps below to be able to use this improved way of logging in.
Activate (2 options)
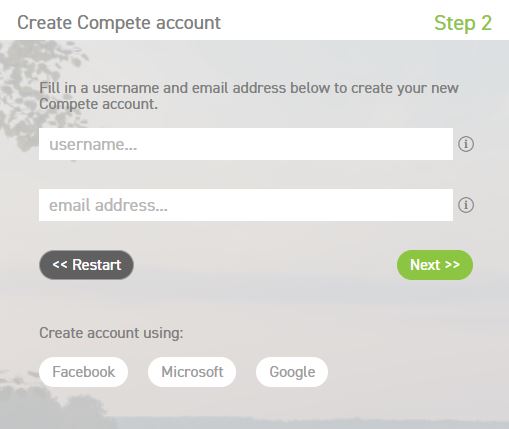
Option 1: Link with the activation link from the activation email:
Pay attention! This option only works if you start working with the LeaveDays application for the first time and your account has not yet been activated (Activation procedure). Go to option 2 below if your account is already activated.
Via step 2 of the activation procedure, a new user can immediately choose to link the account to the Microsoft or Google account. By directly clicking on Create account with (Microsoft or Google) you no longer need to enter a separate username and e-mail address in this screen/step;
Option 2: Link via the profile page
Log into your LeaveDays application and apply Single Sign On via your profile page;

Manage
Log in to your LeaveDays application to manage your Single Sign On preferences via your profile page;
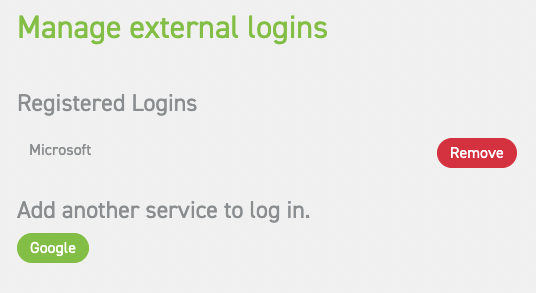
Only 1 external login account can be active at the same time. So remove a link first before adding a new one.