
Go to ‘Time Registration (top of the page) ⇒ ‘Clocking’ ⇒ ‘Calendar’
This method allows employees to register their hours using Leavedays.com website. The calendar summary gives an overview of the available hours. This can be viewed per day and per week.
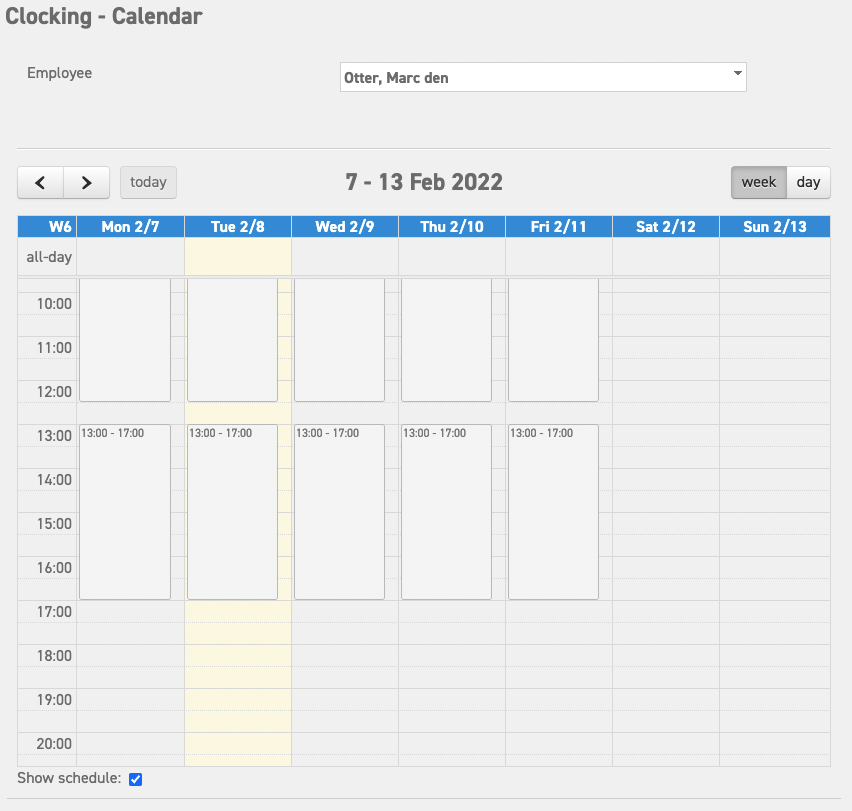
There is a selection bar above the calendar. Here, you can select the week of which the details will be shown the calendar.
- Arrow to the left/right: By selecting the arrows, you can change the date to the previous day or week (left) or the next (right) depending on the week/day settings.
- Today: By selecting this option, the calendar will jump directly to the week or day of the current date.
- Date: The time period that is currently shown will be stated here.
- Week/day: Here, you can select whether the calendar should show one week or one day at a time.
Below the calendar is a check box marker “show schedule”. This determines whether the times of the schedule will be shown in the calendar.
You can now see the schedule of the current week on the screen. When you select one of the time boxes in the calendar, you can manually start and end your shift using a location and activity. You can also enter a start or end time here. The window will look as follows:
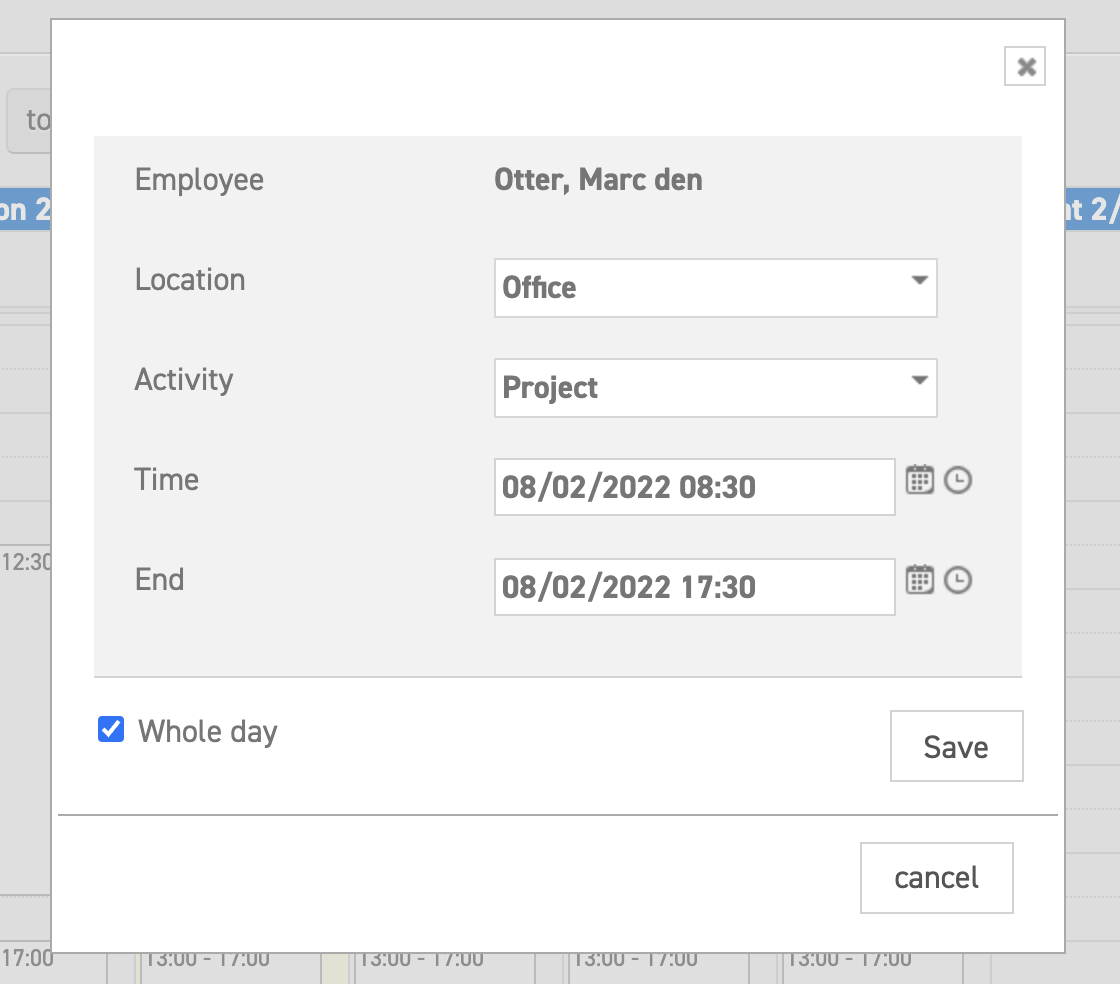
Employee: The name of the employee is stated here.
Location: This is where the location can be selected.
Activity: This is where the activity can be selected.
Time: Enter the start or end time of the worked time with the correct date.
Tip: use the calendar and clock icons to get to the correct time faster!
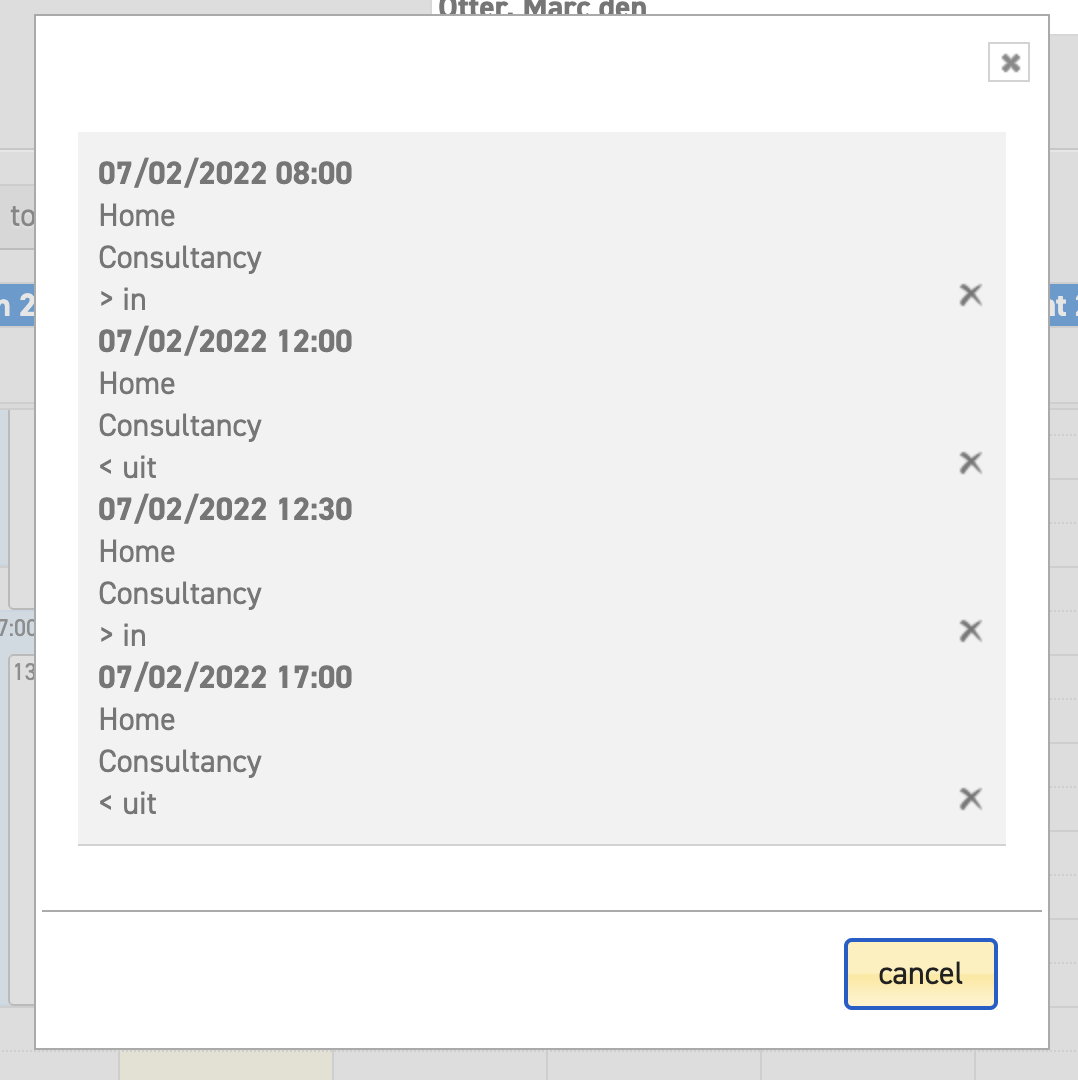
To delete the registered time, select the time entry. There is a cross next to the time entry, which can be selected to delete the entry. As soon as you are done, select ‘save’. This will delete the entry.