
Click here to read more about settings for types of leave.
What are employments?
Employments are used to combine several types of leave and to create and assign these ‘contracts’ to employees. An employment includes data on how many days of a specific type of leave will be awarded to the employees according to a full-time work week. The employee will be linked to a certain employment. Thus, this employment stipulates how much leave the employee can take up yearly. A percentage is used to calculate how much an employee works as compared to a full-time work week. The amount of leave days a part-time employee is entitled to is then calculated based on this percentage. By working with these percentages, you can avoid creating a new employment for each percentage at which an employee works. This way, you only need an employment based on a full-time percentage, which can be adjusted per part-time employee.
When should you create an extra employment?
Employments can be used by multiple employees at once, so you don’t have to create a new one for each and every employee. Should it be the case that every employee has different arrangements regarding his/her contract, it is still possible to do so. In case you are considering creating a new employment, check whether one of these situations applies:
- Compared to an existing, full-time employment, the employee is entitled to more, or less leave days.
- Compared to an existing employment, the employee is entitled to more, or less types of leave.
- Compared to an existing, full-time employment, the employee is entitled to more, or less, senior/seniority days.
Creating an employment
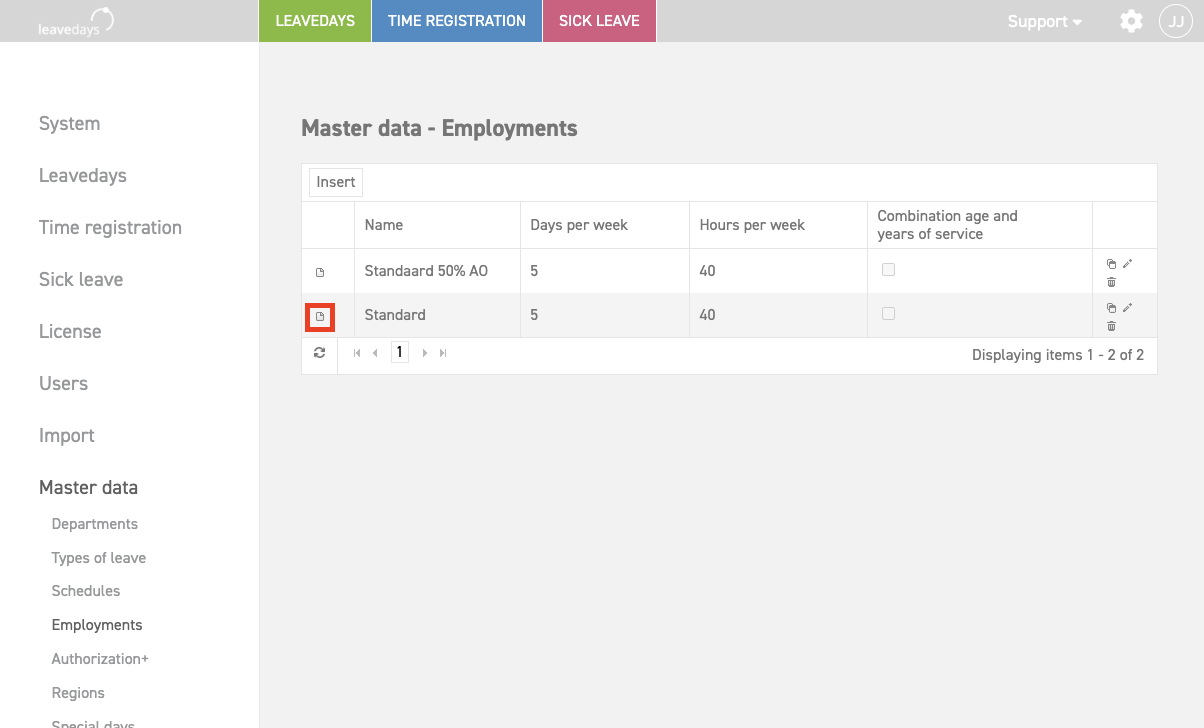
To create an employment, go to ‘Settings (gear icon top right)’ ⇒ ‘Master data’ ⇒ ‘Employments’ and select ‘insert’. The following screen will appear:

- Name: Enter a name for the employment here.
- Days per week: Enter how many work days there are per week in this employment.
- Hours per week: Enter the total work hours there are in the employment. Attention! The options ‘days per week’ and ‘hours per week’ together determine the amount of hours in one work day to calculate the amount of leave days that will be entitled, which is to be filled in at ‘number (entitlement)’ below.
- Combination age and years of service: Check this box if employees get extra leave when they have been in service for an x amount of years, and have reached a certain age. Do not use this option if it is either, or.
- Reference date senior days: This determines if the age for senior days starts at the whole year, part of it, or another variation.
- Reference date seniority: This determines if amount of years of service for seniority days starts at the whole year, part of it, or another variation.
- Custom (months after start): In case you are using the ‘custom’ option at the reference dates, you can determine the custom date here (which of the 12 months).
Then select ‘Save’.
Settings for employments
After creating a new employment, you will add other settings to do with types of leave and senior- and seniority days, should this be necessary. To do this, go to ‘Settings (gear icon top right)’ ⇒ ‘Master data’ ⇒ ‘Employments’ and select the ‘detail’ icon of the employment in question.
Types of leave are the building blocks of any employment, and are thus essential in calculating the entitlement of leave days. Select ‘Add type of leave’. This same type of leave can also be used in different employments, and given different settings.
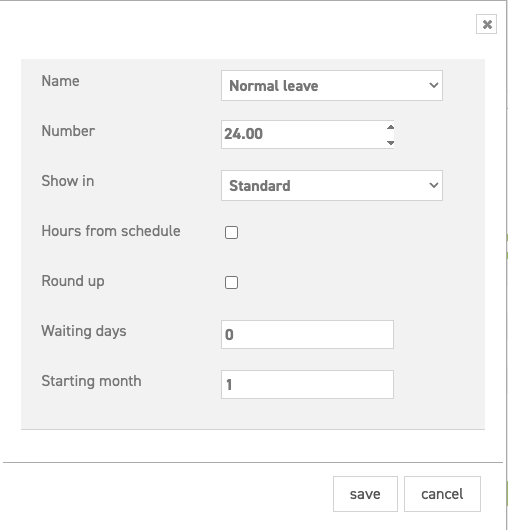
- Name: Select the type of leave in question here.
- Number (entitlement): Enter the number of days entitled for this type of leave per year. In case there should not be any entitlement, enter 0 here. The following are examples of types of leave without entitlement: Special leave, Doctor’s visit, Time off in lieu.
- Only in case of full-time: Check this box if the type of leave should only be granted to employees who work full-time.
- Show in: Here, you can determine how the type of leave will be shown in the balance summary.
- Hours from schedule: If you want to calculate the number of days that are entitled (as described above at ‘number’), you can also do so by taking the hours from the schedule (option: hours in a day) instead of from the employment (options: ‘hours per week’ and ‘days per week’)
- Round up: Here you can select whether the entitlement of this type of leave should be rounded up to quarters of an hour, half hours, or whole hours. With the round off limit, you can set the minimum amount of minutes from which there can be rounding up.
- Waiting days: This can only be used and seen when the module ‘register sick’ has been activated. In case your employee’s collective labour agreement contains waiting days, you can add the amount here. Only use this option for the type of leave from which should be deducted.
- Expires on: This option can only be used and seen when the option ‘expiry date leave’ has been activated at ‘Settings (gear icon top right)’ ⇒ ‘Leavedays’ ⇒ ‘General’. This option is only used when this type of leave expires at a certain date in the year after it has been transferred according to the transfer rules of this type of leave. To let this leave expire, go to ‘Settings (gear icon top right)’ ⇒ ‘Master data’ ⇒ ‘Fiscal years’ ⇒ ‘add expired transport adaptations’ after the expiry date of the leave. In case this leave should not expire, go to ‘Settings (gear icon top right)’ ⇒ ‘Master data’ ⇒ ‘Employments.’ Click on the detail icon of the employment and after that click on the pencil icon to change the leave type. Enter 31 (day) and 12 (month) here. When the Dutch legislation of 2012 calculation method is used, expired transport adaptions will be added automatically.
- Starting month: In case the financial year is different for this type of leave than the default settings, enter the starting month of the type of leave here. If this is the correct date for all types of leave, select ‘for all leavetypes’. NOTE: The option to select ‘For all leavetypes’ is only available when editing a leave type, not when adding a new one.
Repeat these steps for all types of leave that have to be added to the employment.
Settings for senior and seniority days
After the employment has been created and filled with types of leave, you can also add senior and/or seniority days, if applicable. Select one of the ‘add’ buttons to add a rule.
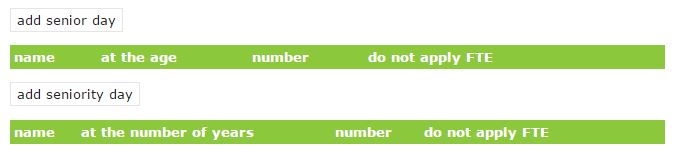
Senior days
These are days awarded to employees once they have reached a certain age.
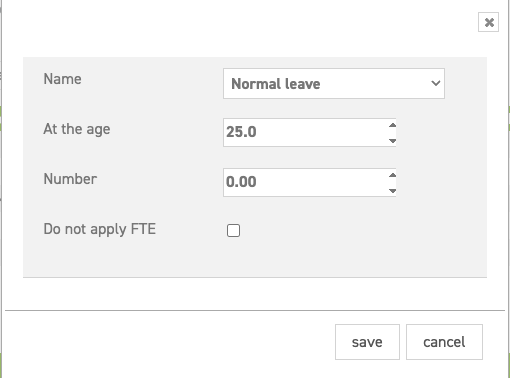
- Name: Select the type of leave under which the senior days count.
- At the age: Select the age at which these days will be awarded.
- Number: Fill in the number of days that will be awarded to the employee after reaching the target age.
- Do not apply FTE: This option determines that there is only entitlement of senior days when the employee works 100% of a full-time week.
Attention!
The ages have to be consecutive and cannot overlap.
Read more about adding senior days here.
Seniority days
These are leave days which are awarded according to the amount of years an employee is employed at the company. This is automatically linked to the date an employee is hired. These days can be added in the same way as senior days.
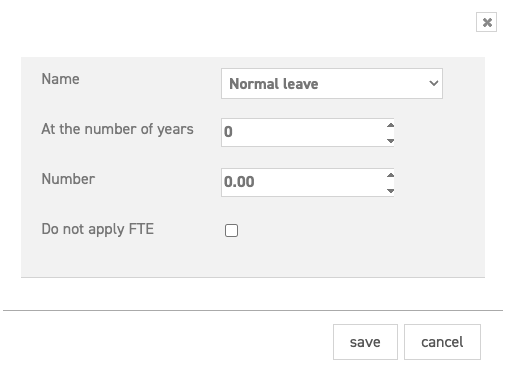
- Name: Select the type of leave under which the seniority days count.
- At the number of years: Select the number of years at which these days will be awarded.
- Number: Fill in the number of days that will be awarded to the employee after reaching the selected number of years.
- Do not apply FTE: This option determines that there is only entitlement of seniority days when the employee works 100% of a full-time week.