
Changing an employee’s status to inactive/back to active
When the employee is no longer employed at your company, it can be useful to keep the data of the employee. This can turn out to be useful when, for instance, the employee requests certain data after leaving employment. Moreover, according to Dutch legislation, employee data has to be preserved for several years. It could also occur that the employee re-enters employment after a certain period of time. If this should be the case, the data would still be in the system, which would make the administrative measures much easier.
Each employee in the system needs to have a valid licence in order to perform any actions in the application. As soon as the employee is set to inactive, the licence will be released and can be used for another employee. This means that the inactive employee cannot log on to the application any longer, and cannot carry out any actions in the system. Thus, an unlimited number of inactive employees can be in the system free of charge.
How to set an employee to inactive?
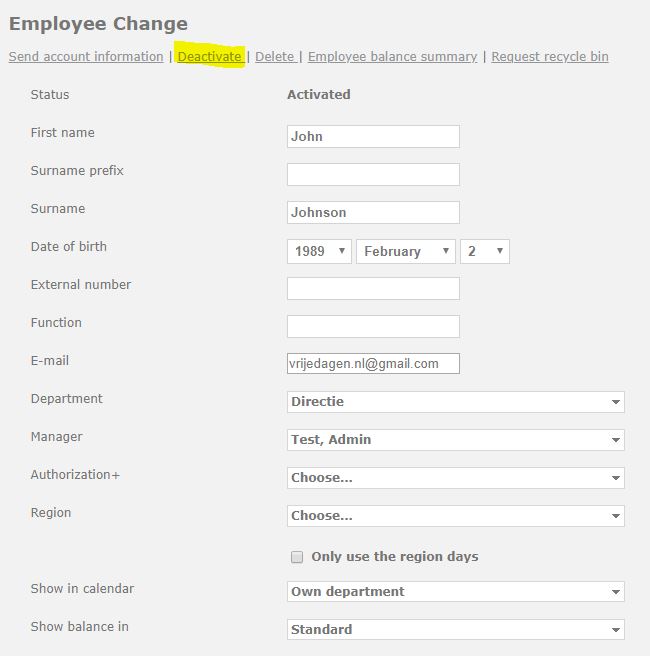
You can change an employee’s status to inactive by going to ‘Settings (gear icon top right)’ ⇒ ‘Users’ ⇒ ‘Overview’. Once there, select the employee who needs to be changed to inactive. At the top of the employee detail, there is the option ‘Deactivate’. When you select this option, the employee will be inactive.
The option itself has now changed; it now says ‘reactivate’. As soon as you select this option, the employee will be re-activated within the system.
Attention!
- It is only possible to activate an employee if you have enough licences for all active employees in the system.
- In case a user also has the manager role, make sure that there aren’t any employees linked to this manager anymore. You can check this by going to the ‘manager’ tab of the employee in question in the edit employee screen. Here, you will be able to see whether there are still people linked to this user. Should this be the case, make sure that these employees get assigned to a different manager. As soon as this has been taken care of, you can make this user inactive.
Manage account
- Send account information: When the user’s status is activated, this option will be available. This enables you to send the user their login details, which are the email address and username chosen by the user themselves in the registration.
- Send activation again: When the user’s status is pending activation, this option will be available. This sends the user a new email with an activation link. In case the activation link has expired, the account will need to be deactivated and reactivated anew.
- Reactivate: When the user’s status is deactivated, this option will be available.This sends the user a new email with an activation link. In case the activation link has expired, the account will need to be deactivated and reactivated anew.
- Deactivate: This deactivates the account, so that the user will no longer have access to the application. This is the final step in ending an employment. As administrator you will retain access to the history of this user, but it will no longer take up a licence. In case the employee returns to employment, the reactivation can easily be accomplished, and will grant the employee access to their leave history. To do this, select Reactivate.
Delete the employee completely? Read more about this option here.